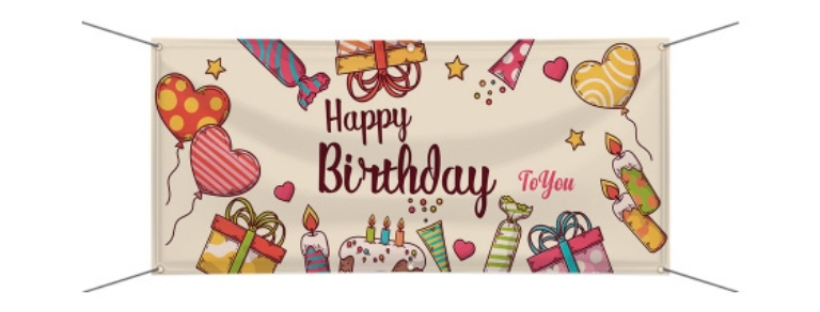
Birthdays are a universal celebration of life and love, and what better way to enhance the festivities than with a personalized vinyl birthday banner? Well-crafted Vinyl Birthday banners not only surprise but also leave a lasting impression and makes your loved ones feel truly cherished. In this celebration guide, we’ll delve into the intricacies of creating eye-catching vinyl birthday banners with 10 detailed and easy-to-follow tips. Make sure your celebration is not only memorable but visually stunning!
- Choosing the Right Materials:
The foundation of the successfully personalized birthday banner lies in the careful selection of materials. Gather essentials such as cotton fabric, printable iron-on transfer paper, or printable fabric. Additionally, ensure you have digital photos ready if you plan on incorporating photo transfers. These materials not only serve as the canvas for your creativity but also contribute to the durability and longevity of your banner. - Selecting the Desired Banner Shape:
Before embarking on the creative process, consider the shape of your banner. Explore different options, such as flags, pennants, or unique shapes that align with your aesthetic preferences and the theme of the celebration. The chosen shape sets the personalized and thematic touch for the entire design. - Printing and Cutting Your Photos
Utilize iron-on photo paper to print out carefully selected images. Cutting these photos into circles using a template not only adds a creative dimension but also allows for a meticulous arrangement. The process of selecting and arranging images contributes to the narrative of the celebration, creating a visually appealing and meaningful banner. - Applying Iron-On Photos:
Iron the photo circles directly onto white or light-colored fabric. This step not only secures the photos onto the banner but also allows for customization based on your chosen color palette. The iron-on technique ensures a seamless integration of images into the fabric, creating a cohesive and polished look that highlights the personal touch of the celebration. - Experimenting with Fabric Combinations
Upgrade your personalized birthday banners by experimenting with various fabrics. Consider sticking prints onto printable fabric, sewing patches onto darker fabric, or stitching photos onto dark fabric for a unique effect. Playing with different textures and materials adds depth and complexity to your creation, making it visually intriguing and aesthetically pleasing. - Enhancing with Stitching:
Take your banner to the next level by incorporating stitching details. Sew along the edges using a blanket stitch or a ribbon to add a charming handmade touch. This not only enhances the visual appeal but also reinforces the durability of the banner, that withstands the test of time as a cherished memento. - Personalizing with Markers:
Utilize permanent markers or fabric pens to add personalized details. Whether it’s filling in gaps, enhancing the overall design, or adding a heartfelt message, these small touches make a big difference. The markers allow for creative expression, and turn your banner into a unique and cherished keepsake that reflects the personality of the celebration. - Mindful Assembly:
Be strategic in assembling your event banner. Leave the top open when sewing along the edges to turn it right side out smoothly. Attention to detail during assembly guarantees a polished and professional-looking final product. Additionally, consider the flow and arrangement of your design to ensure a visually harmonious presentation. - Considering the Display Location:
Vinyl birthday banners are versatile and can be hung in various locations. Whether it’s your room, backyard, or tied across trees in the garden, the banner adds a festive and celebratory atmosphere. Consider the party venue and choose a display location that maximizes the visual impact of your creation, creating an immersive and captivating ambiance. - Capturing the Joyful Moments:
Finally, make sure to have a photographer on standby to capture the priceless expressions and cheers of joy when your loved one sees the personalized banner. These moments are as precious as the banner itself, and a well-timed photograph immortalizes the joy and surprise on their faces. The visual documentation becomes a cherished part of the celebration, creating a lasting memory.
Bonus Point:
You can further enhance your vinyl birthday banner with unique elements like trinkets and LED lights, adding a special touch to the festive atmosphere. Take it a step further by hosting a banner-making party—a collaborative and joyous event. Invite friends and family to contribute to the personalized touches, creating shared memories cherished by all. Make the creation of the personalized vinyl banner a memorable and interactive experience for everyone involved.
Steps to Get Best Out of Personalized Birthday Banners
| Step | Description |
| 1. Define Theme & Purpose | Clarify the theme and purpose of the personalized vinyl banner, aligning it with the birthday celebration. |
| 2. Gather Essential Materials | Collect necessary materials such as cotton fabric, printable iron-on transfer paper, and digital photos. |
| 3. Shape Selection | Choose the desired banner shape, considering flags, pennants, or unique shapes that resonate with the theme. |
| 4. Photo Printing & Cutting | Print selected photos on iron-on paper and carefully cut them into circles using a template for a polished look. |
| 5. Iron-On Application | Securely iron photo circles onto light-colored fabric, allowing for customization based on the color palette. |
| 6. Experiment with Fabrics | Elevate the banner by experimenting with different fabrics, adding texture and depth to create visual interest. |
| 7. Enhance with Stitching | Add a handmade touch by sewing along the edges using a blanket stitch or ribbon, ensuring both style and durability. |
| 8. Personalization with Markers | Use permanent markers or fabric pens to add personalized details, injecting uniqueness and sentiment. |
| 9. Mindful Assembly | Strategically assemble the banner, leaving the top open for a smooth turnaround, ensuring a polished final product. |
| 10. Consider Display Location | Choose an optimal display location, indoors or outdoors, to maximize visual impact and contribute to the celebration’s ambiance. |
| 11. Capture Joyful Moments | Ensure a photographer is ready to immortalize the joy when the personalized banner is revealed. |
| 12. Add Unique Decorative Elements | Enhance the banner further by incorporating unique elements like trinkets or LED lights for a standout festive look. |
Incorporating these comprehensive tips into your vinyl birthday banner creation process will undoubtedly result in a stunning and memorable addition to your celebrations. Allow your imagination to run wild and watch as the thoughtful gift of a personalized banner truly touches your loved ones. Crafting unforgettable moments is an art, and with these tips, you’re well-equipped to turn your celebration into a visually captivating and emotionally resonant experience. Happy crafting and happy celebrating!
Written by BestofSigns editorial team.
 Posted in
  Tags:
Tags: