Car decals are seen on work trucks, semi’s, and business vans every day: on the road to their next job, on your street when your neighbor hires a plumber or pest control, in front of big businesses that called in a professional to fix an issue they couldn’t.
We see them everywhere because they are an effective, long-lasting form of marketing — one that is easy to apply and to remove.
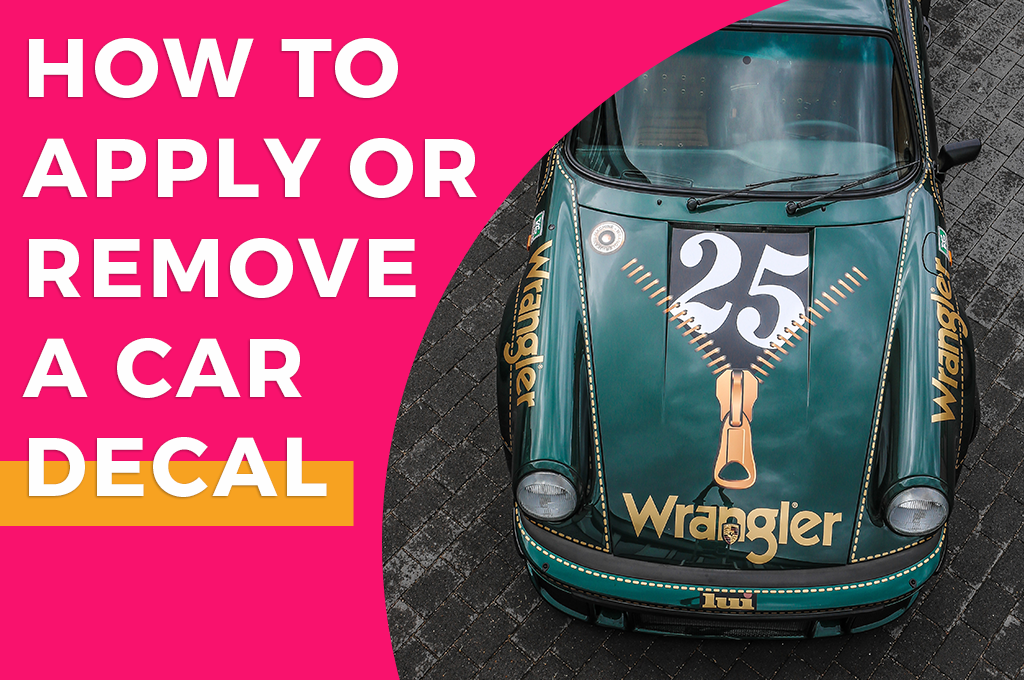
Below is your guide to everything you need to know about how to apply and remove car decals.
How to Apply a Car Decal
There are only five steps to ensure a proper application of your car stickers- whether they’re full window decals or are simply vinyl lettering.
Proper application of vinyl stickers ensures that:
- Your decals will stay on your vehicle as long as you want them to.
- They will not peel or weather.
- The decals will not have bubbles.
- They look professional and are not wrinkled or crooked.
Now, to get you started. Here is how to apply vinyl decals to car bumpers, windows, and everywhere else.
Step 1: Clean the surface
Cleaning the surface of the point where you will place your decal is important to proper adhesion. Without a clean surface, a sticker won’t stick.
The dirt will cling onto the adhesive backing without ever reaching the actual surface of the car, and will either slip straight off or will peel off much sooner than you want it to.
Use: a light soap or rubbing alcohol.
Don’t use: anything that will leave wax or any other residue.
Step 2: Determine placement
It’s fairly easy to determine where on the car you want to place the decal- a well-viewed area is your best option.
However, deciding the exact placement will require a little measurement. First measure your decal, then measure the placement area to determine the center. This ensures the decal won’t be off kilter.
Use: a ruler, measuring tape, level, or other straight edge devices to ensure that your decal is aligned and centered.
Pro tip: Mark the measurements/angles with painter’s tape.
Step 3: Peel
If the decal is shorter than the length of a forearm, you can peel off the decal’s entire backing to get to the adhesive.
If it’s larger, then only peel a few inches. This’ll make it easier to handle and keep the decal from picking up dirt.
Step 4: Apply
Using the tape markings as your guide, place one edge of the vinyl decal on the vehicle and begin to smooth it out with a straight edge, such as a paint scraper or credit card.
Remember to:
- Move slowly, sealing the vinyl to the car little by little.
- Press firmly, and smooth in one direction to get all the bubbles out.
- Keep the decal pulled tight as you apply to prevent bubbles and wrinkles.
- Slowly peel off more of the backing as you smooth out the decal.
Pro tip: Make sure the vehicle is dry before application.
Step 5: Finish the job
For the decal to have properly adhered, it must dry, preferably in sunlight.
Let the decal sit before you touch it again. Once it’s dry, you can peel off the transfer paper and smooth out any bubbles you didn’t notice during application.
To remove bubbles, use your straight edge to gently force the bubble towards the edge of the decal.
Warning: Don’t use a blow dryer or other instrument to apply direct heat to the decal; this may cause it to melt or warp.
Having decals on your car or company vehicle allows you to soak in all the benefits of low maintenance, a constant advertisement for as long as you want.
And when you don’t want them anymore, want to upgrade yours, or are refurbishing old vehicles and need to take their decals off, it’s just as quick and easy as the application.
How to Remove a Decal From Car?
The ability to remove vinyl decal (and reuse them) is part of what makes them a smart choice for all businesses. It is a low commitment advertisement that can be upgraded and changed as many times as you choose.
But unlike the application, removal is less about the process and more about the method. Ideally, the method you choose should:
- Keep your vehicle from being damaged
- Keep the vinyl intact so you can use it again if you choose
- Remove all residue from the vehicle so there is no trace of the former vinyl.
Not all of the methods listed below will keep your vinyl intact, but we’ve included them in the case that you don’t intend to keep your vinyl.
Method 1: Heat
As mentioned in the last point of the application process, heat tends to destroy vinyl. Direct heat from a hair dryer or heat gun is best for removing vinyl decals you don’t intend to keep.
To use:
- Move heat slowly over the edges of the vinyl until you see lift or bubbling.
- When you get a loose edge, slide the scraper under the vinyl and slowly work with the heat to lift up the rest of the vinyl.
Method 2: Peel
Sometimes, if a vinyl hasn’t been on the vehicle long, or if there are already loose ends, all you need to do is grab and gently peel.
Afterward, use an adhesive remover to ensure your vehicle is completely free and clear of all remnants of the vinyl.
Method 3: Water
If you really want to keep your decal intact, one of the best methods is to use a damp, warm rag.
To remove your car decal with this method, remember to:
- Wet a rag with warm water and rub it gently over the decal.
- Don’t keep the rag set in one spot for too long, otherwise, it could melt the decal.
- Wait until you see a lift in the vinyl — this might take some time.
- Once there is lift along the edges, use the scraper to help guide it off the vehicle.
Whichever method you choose, you’ll need to use soap or an adhesive remover afterward to ensure no adhesive is left behind.
Where to Get Custom Vinyl Car Decals for Your Business?
Don’t have vinyl decals to apply to your company vehicles yet? Want something that stands out and is customized to your business?
Best of Signs offers the customization tool you need, with thousands of templates, fonts, sizes, shapes, and dozens of vivid colors to make the decals that are right for your business. You can then display your message on an opaque, clear, or reflective car sticker.
Choose Best of Signs for your custom vinyl car decals today.
 Posted in
  Tags:
Tags: