
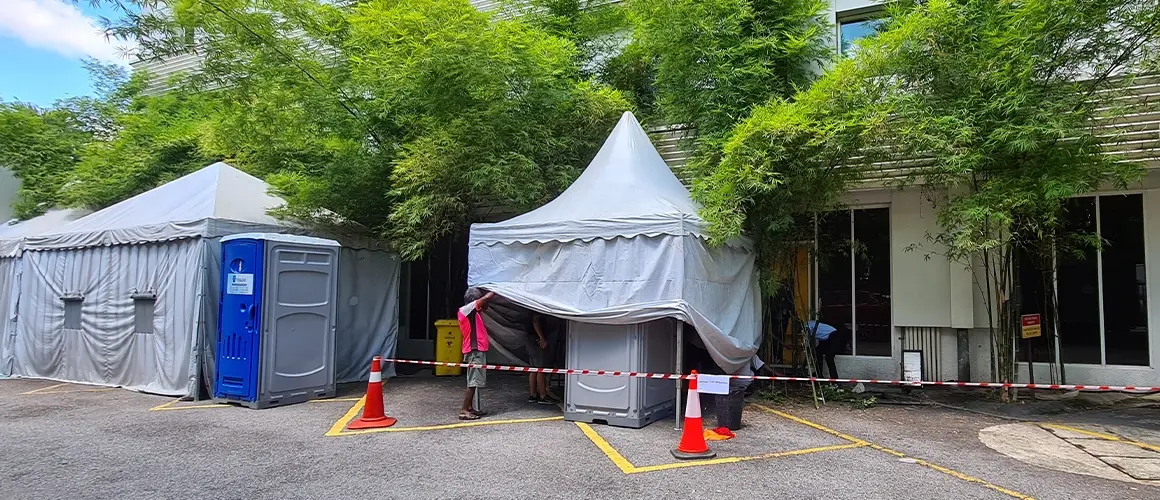
Canopy tents, those versatile havens of shade and shelter, are lifesavers for outdoor events, backyard barbecues, and even casual picnics. But not knowing how to set it up, installing the tent incorrectly, facing a collapsed frame and tangled mess of fabric can be daunting. Fear not, fellow outdoor enthusiast! This comprehensive guide will equip you with the knowledge and confidence to install your canopy tent like a pro.
Before you begin: Location! Location! Location!
Before you ask how to install a canopy tent, finding an ideal location is crucial for the success of your setup. Here are a few guidelines to follow when looking for the best location for your tent:
- Level Ground: The most important factor is a flat, level surface. An uneven ground can cause the frame to become lopsided, putting stress on the connections and increasing the risk of collapse. This can be dangerous for people underneath and may damage the tent itself.
- Wind Resistance: Wind can be a major enemy of 10×10 canopy tent. Setting up on a windy day or in a location exposed to strong gusts can make assembly difficult and lead to the tent tipping over. Look for a sheltered area with minimal wind exposure for optimal stability.
- Firm Footing: The type of ground also impacts stability. While grass is a good option, ensure its firm enough to hold the weight of the tent and any weights or stakes you’ll be using. Avoid loose sand or very soft soil, as the stakes or weights won’t grip properly. Concrete on hot days can also be problematic, as the heat can soften the material and make securing the tent difficult.
- Positioning: Consider the sun’s path throughout the day. If your goal is shade, position the tent so it provides shade where you need it most. Afternoon sun can be especially harsh, so factor that in if your event lasts for several hours.
- Foot Fall and Space: Think about how you’ll be using the tent. If it’s for an event with guests, ensure there’s enough space around the tent for people to move comfortably. Avoid placing it too close to obstacles or walkways.
- Obstructions: Look out for low-hanging branches, power lines, or other overhead hazards that could damage the tent or pose a safety risk.
- Drainage: If there’s a chance of rain, choose a location with good drainage to prevent water from pooling under the tent and creating a muddy mess.
- Permissions: If setting up the tent in a public space, check for any local regulations or permits required.
By taking the time to find a good location, you’ll ensure a smooth set-up process, a stable and secure tent, and a comfortable and enjoyable experience for everyone using it.
Gather Your Arsenal
Preparation is key to a smooth canopy tent installation. Here’s what you’ll need:
- Canopy Tent: This should include the frame, canopy top, and any additional accessories like sidewalls, weight bags, or stakes.
- User Manual: Most tents come with a manual, but if yours is missing, you can usually find a downloadable version on the manufacturer’s website using the model number.
- Helping Hand: While some tents can be assembled solo, having a friend can significantly speed up the process and ensure a level frame.
- Clear Space: Find a flat, level area on grass, pavement, or dirt (avoid asphalt on hot days) to set up your tent.
- Tools: A hammer can be helpful for some tents with peg-and-sleeve connections.
Check the weather forecast! High winds can make assembly tricky, so reschedule if necessary.
Assembling the Frame
Now that you’re prepped, let’s assemble the frame! Refer to your user manual for detailed instructions, but here’s a general breakdown:
- Unpack the Frame: Carefully remove the frame from its storage bag and lay it flat on the ground. Identify the different components like legs, poles, and cross-connectors.
- Connecting the Core: Following the manual, begin by connecting the main leg sections. These typically use press-button mechanisms, sleeves with locking pins, or internal elastic cords.
- Raising the Roof: With your partner, stand opposite each other and hold the center section of the assembled legs. Carefully lift and spread the legs outwards until the frame reaches its full height. This might require a coordinated push upwards to lock the legs into place.
Watch out for pinching hazards! Be mindful of your fingers and any loose clothing when assembling the frame.
Attaching the Canopy Top
Your sturdy frame awaits its stellar cover. Here’s how to drape the canopy:
- Unfold and Inspect: Unfurl the canopy top and lay it flat. Check for any tears or loose stitching and address them before proceeding.
- Find the Openings: Locate the sleeves or Velcro straps on the canopy top that are designed to attach to the frame. These might be along the canopy’s peak or at the corners.
- Slide and Secure: Starting at one end, carefully slide the canopy sleeves over the corresponding frame sections. If using Velcro straps, firmly secure them around the frame poles. Work your way around the entire frame, ensuring the canopy is evenly distributed.
Some canopies have straps or buckles that cinch the top to the frame for a tighter fit. Don’t forget to use these for added stability.
Securing Your Outdoor Canopy Tent

A secure canopy is a happy canopy! Here’s how to keep your custom canopy tents 10×10 from taking flight:
- Weight it down: Most tents come with weight bags that you can fill with sand, gravel, or even water bottles. If not, you can always buy tent weights. Attach these weights to the legs of the frame for stability, especially in windy conditions.
- Stake it out: If your tent includes stakes, use a hammer to insert them securely into the ground at each corner of the frame. This provides extra stability and prevents the tent from lifting in strong winds.
- Use Anchors: For additional wind protection, fasten the anchors to specific points on the frame and then attach them to a steady object nearby. You can use stakes for the anchor to provide extra hold and stabilization to your portable canopy tent.
Double-check all connections and ensure the custom canopy tent is firm and solid before leaving your tent unattended.
Add Sidewalls for Extra Protection
Many canopy tents offer sidewalls that attach to the frame for additional privacy and protection from the elements. Here’s a quick guide:
- Identifying Attachment Points: Locate the Velcro straps or loops on the sidewalls and the corresponding points on the frame. These might be on the legs or along the roof perimeter.
- Securing the Walls: Starting at one corner, attach the sidewall to the frame using the designated Velcro or loops
Storage
Now that you have installed your canopy tent successfully, make sure you dismantle it carefully without damaging any parts. Storing your canopy in a proper condition is pivotal for its life, keeping it secure and ready for the next use. A few things to remember:
- Before you pack and store your tent, it should be completely clean and dry. Remove any stains or dirt from the fabric and let it dry completely.
- fold the canopy tent with care to prevent any wrinkles or creases from forming on the fabric. Make sure that the tent is not either too tight or too loose.
- Store your tent in a dry place as storing it in a damp or humid place may cause mold and mildew to grow.
- Use a proper storage bag or container to keep the tent protected from any kind of harm
If you follow the instructions discussed above, canopy tent installation will be a piece of cake. Just make sure you buy your pop up canopy tent from a good brand keeping quality in mind, as you do not want to spend your hard-earned money on frequent repairs.
So, what are you waiting for; get outdoors under your favorite tent.
Written by
 Posted in