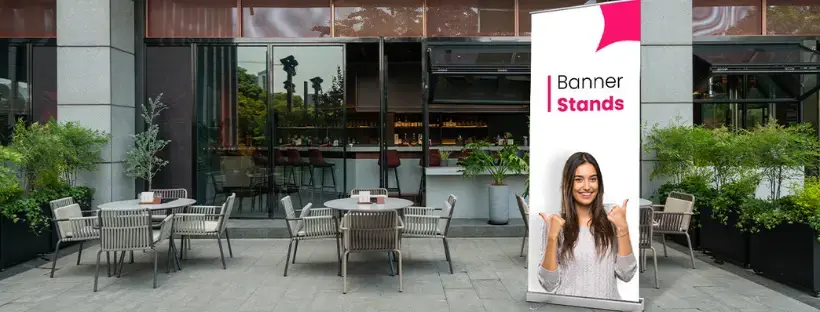
Banner stands have always been a useful asset to marketing a business because of their versatility, simplicity, and affordability. They are typically used as attention-grabbing displays that promote a particular brand and its message. Particularly useful in heavily populated events, their ability to stand out from the crowd makes them a game changer.
They may offer an opportunity to increase exposure at a minimal cost, but choosing the proper banner for your business is critical to drawing in potential customers. There are various factors that contribute to a successful display, including the material, design, logo, size, placement, and quality. Knowing how to properly take advantage of this essential marketing tool will yield remarkable results.
Here is a guide to making the decision a little easier.
What is a Banner Stand
As essential tools for marketing a business, use banners and banner stands both indoors or outdoors to advertise goods, services, promotions, and more. They are commonly used at exhibitions, trade shows, and other public locations to maximize exposure.
There are banners available in a variety of materials, sizes, and designs, so keep your options open and choose based on both budget and need. The idea is to have an eye-catching banner that stands out from all the white noise of the hustle-bustle of a city.
Design Ideas
Start by defining your target audience and where the banner will be displayed. Depending on the location, it may affect the orientation of the display or whether it is standing or hanging. Design elements like text, font, and logos are determined based on the alignment of the banner, so choose wisely.
Keep your logo and/or brand name at the top of the banner so that pertinent details are instantly visible. Center the messaging and keep it at eye level to ensure visibility to capture maximum attention from passersby.
Keep your messaging clear and to the point, sticking to just the necessary information to avoid overcrowding. Choose your font size based on the average distance you feel customers will be to optimally view your sign. The closer or tighter the distance, the smaller your font. The standard rule? 1” for every 10’ of viewing distance.
Use colors that compliment your brand and logo while also making the type of impact you desire. Most corporate logos contain blue for a reason: it is calming, soothing, and portrays a level of professionalism.
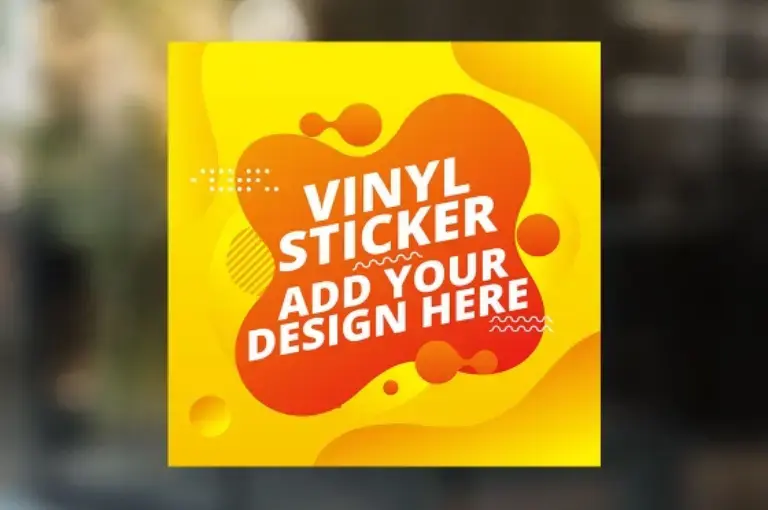
Print-Friendly Graphics
Clear, crisp banner images make it easy for passersby to see your marketing message. Opt for high-resolution images to produce the highest quality print reproductions.
Avoid downloading images from the web or social media and, instead, source higher-resolution photos with a minimum of 150 ppi.
Raster and vector are two types of graphics. While raster graphics are resolution dependent, vector images are scaled to fit the size of any banner. Your logo should always be formatted as vector graphics, so you can print anything from business cards to outdoor banners without losing the integrity and clarity of the image.
Which Banner Stand Size is Right for You
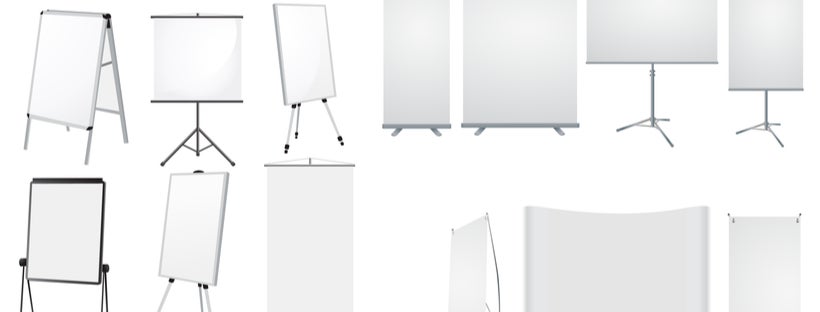
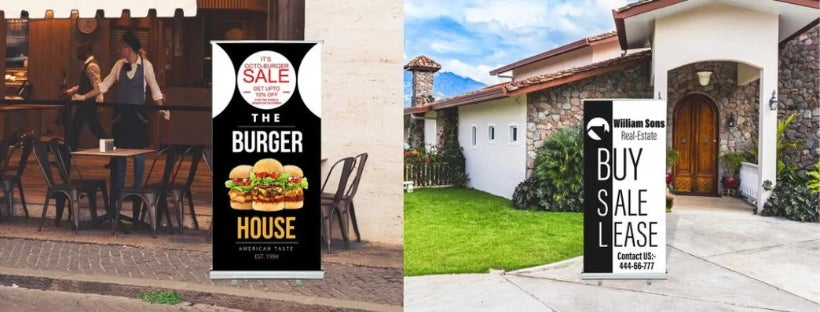
There are a variety of banner sizes to choose from, so it will be easy to find something to fit your marketing needs. From retractable to static and literature-style banner stands, there is a banner stand to fit every indoor or outdoor space. Here are the best ways to use each banner type:
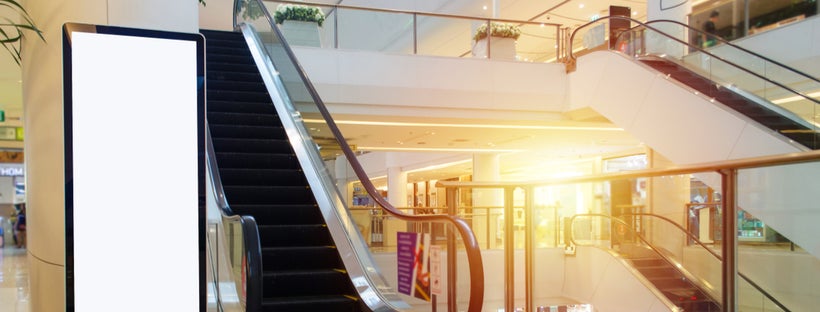
- Retractable Banner Stand: The most popular choice, retractable stands are ideal for on-the-go marketing due to their lightweight materials and easy set up and breakdown mechanisms.
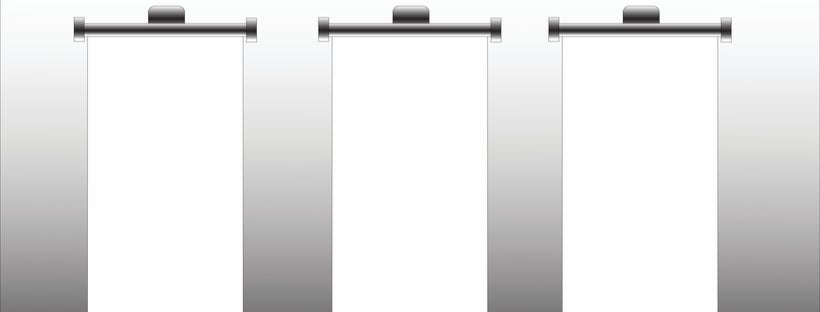
- Static Banner Stands: Static stands are great for frequent use. This option is ideal for in-store, longer-term advertising.
- Literature Banner Stands: These stands are perfect for trade shows or function as brochure stands. Keep these near your store entrance stocked with catalogues and flyers or add them to your event booth.
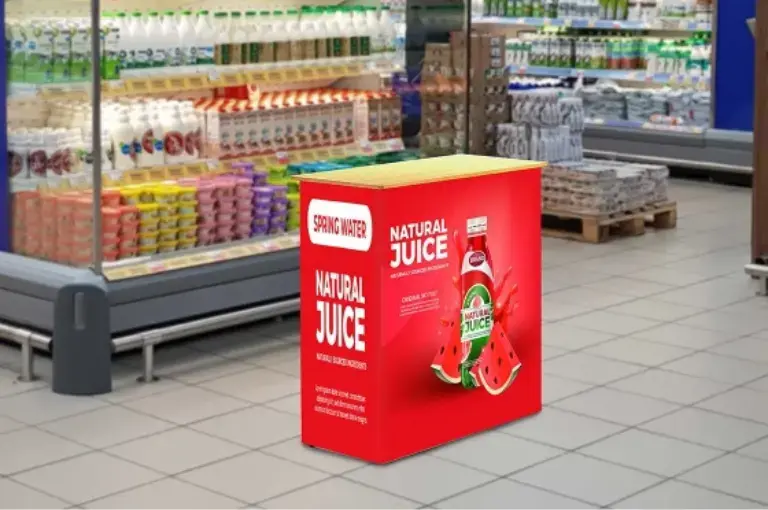
Each banner stand option comes in different sizes. It is important to choose a size that fits your space. If you are advertising a product in store or on a shelf, a smaller size is advisable so it doesn’t impede a customer’s shopping experience. If you are aiming for large-scale event visibility, a larger banner stand is going to be ideal for your marketing goals.
Set Up & Breakdown
Setting up or breaking down a banner stand is a simple process. First, set up your stand by removing the hardware from the carry case and attaching the feet to the side poles. Next, attach the support poles to the extensions and unfold the banner.
Slide a support pole into the top pole pocket of the banner and secure it to the top of the side poles and partially elongate the side poles, then secure it tightly. Carefully place the pole into the bottom pole pocket of the banner and fix it to the bottom of the side poles. Now, loosen the side poles and raise the banner until it is firm and stable.
At the end of your event, simply detach the bottom support pole and remove it from the banner. Carefully lower the side poles while detaching the top support pole. Next, remove the support pole from the banner. Finally, remove the hardware and place it into the lightweight carrying case along with the support poles and retractable base.