Looking for an eye-catching, yet tasteful way to alert passersby to your shop? Create a custom window cling for your brick and mortar. Read on to see why window clings are a fun and affordable way to advertise your business. We’ll go over everything you need to know, including:
- What they are and why they matter for branding
- How to apply window clings
- How to store window clings
- Where to buy window clings
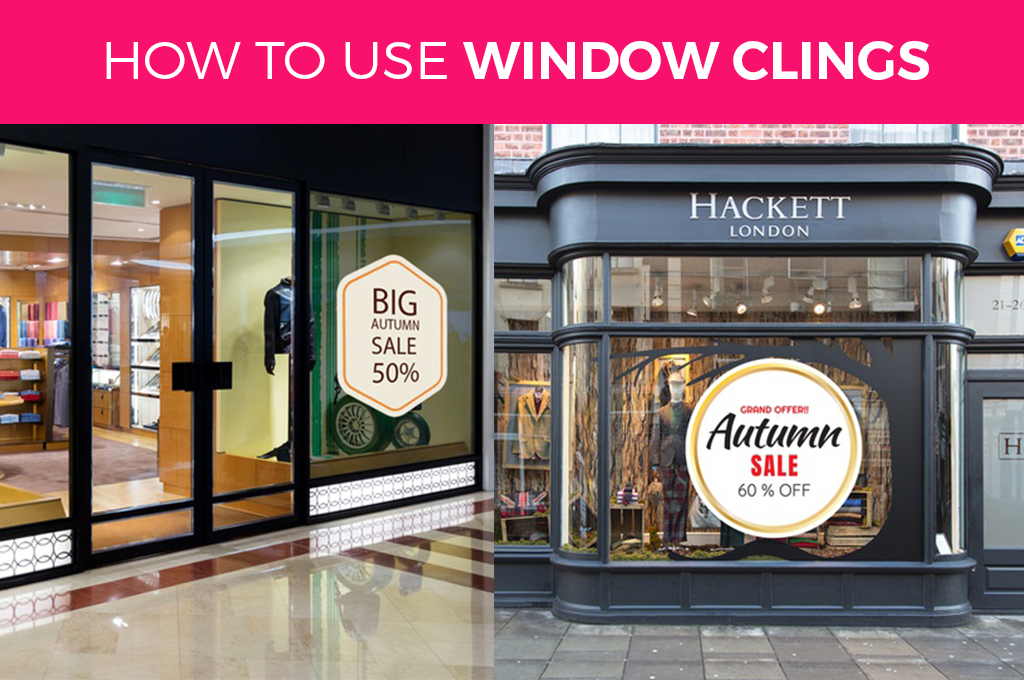
How to use window clings to highlight your brand
When done right, window clings:
- Reinforce your brand
- Provide information about your business
- Give a sense of the mission and intent of your business
- Represent the high quality of your business
- Attract customers
The intention is to reinforce everything your business stands for, attract the customers you haven’t reached online, and help those you have reached to find you.
With that said, you may have a few other questions. Keep reading for answers.
What is window clings?
There are a lot of different names for window clings, and then there are products that are similar but somewhat different. A few of these you may have heard of include:
- Static clings
- Stickers
- Decals
- Vinyl Decals
- Labels
There are only slight differences between these items, but that subtlety may make a huge difference depending on how you plan to use them.
Decals/ stickers
In most cases, decals and stickers and other related items use an adhesive to maintain their place on any flat and nonporous surface.
They can typically be applied and removed easily, and can even be reused if detached without damage. Decals are great for longer use, such as:
- Decoration
- Business logo on windows
- Murals
- Quotes
Though they are similar to clings, they are less viable for short term sales or seasonal promotions. Which is where window clings come in.
*Decals and stickers are weatherproof and can be used outside.
Static window clings
Static clings stick by using the static between the window and the actual cling, allowing them to be used, moved, and replaced easily without any damage.
They can be big or very small. Made from templates or designed for a specific purpose/brand. Often they are used temporarily for:
- Sales
- Events
- Seasonal promotions
- Hiring
- Renovations
The ability to remove and replace these clings as many times as you’d like to make them a great option for many businesses looking for a short term advertisement option.
*They are not weatherproof, so they should be placed on the window from the inside to face out.
How to apply window clings
Here are the simple steps to applying window clings:
Step 1: Clean the application surface
Because window clings use static, any dirt, grime, or dust that lingers on the windows will make it impossible for the clings to stick.
Make sure to use a microfiber cloth or other wipe that won’t leave residue or fibers behind.
Step 2: Placement
You may need to measure out the intended placement of your window cling to ensure that it is centered and level. A crooked cling sends a sloppy message to all that see it.
One way to ensure that the cling is centered is to measure and mark the placement with tape or washable marker.
Step 3: Application
There are really only two methods for applying window clings, each just as simple as the last:
- Dry– Window clings can be applied easily by placing them on the window and rubbing your hand over the cling to make them stick. However, this method may leave a few bubbles. To smooth out bubbles, you can run a flat scraper, such as a credit card, over the surface. Smooth from the center out for a seamless look.
- Wet– Like a suction cup, window clings stick a little better (and will hold the placement longer) when the surface is a little wet. This may mean wiping the surface with a damp rag or spraying it with a water bottle before application. After spraying, you can roll the cling over the placement area from one corner or side to the other. This will reduce the possibility of bubbles. Then smooth your hand over it to make it stick and remove any occurring ripples or bubbles.
How to store window clings
Once you’re finished using your window clings, they should store properly for reuse.
Follow these three general guidelines:
- Make sure the window cling is held down flat since they tend to curl.
- Store them somewhere clean, since they can lose their static cling when covered in grime, dirt, or dust.
- Store them in a cool place, since heat can damage them.
Here are a few storage ideas for big and small window clings:
- A binder with page protectors
- Wax paper between each cling and store in dust and waterproof boxes
- Poster protectors
- Lay flat on wax and place against cardboard backing (wrap with plastic or other dust protectors)
- Store in vinyl record cases
- Keep in a filing cabinet against a hard backing and wrapped to keep free of dirt and debris
There are dozens of similar ideas for storing your window clings. Try a few out and see what works for your business.
Where to buy window clings
To ensure proper branding, you should always purchase your window clings from a company that lets you design your own. This provides you the most freedom to fit your style and truly commit to your brand.
Best of Signs has the design tools you need to create window clings that accurately represent your vision. Visit Best of Signs today to shop quality window clings.
 Posted in
  Tags:
Tags: