If you want to add some personality to your car or advertise your brand with company vehicles, decals are a great choice. You can bring your vision to life with custom car decals in a few easy steps. There are a few things to consider as you turn your car into a mobile billboard. This guide simplifies the process and answers all of your questions about how to make car decals.
Why Choose Car Decals?

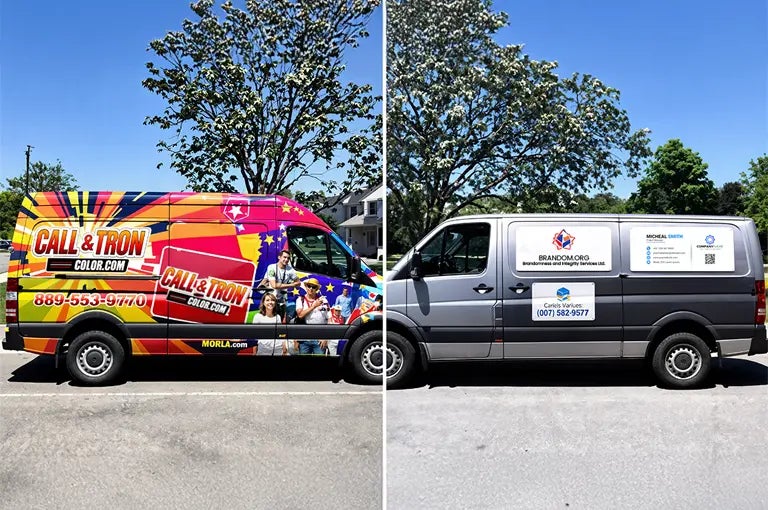
Car decals and car flags offer affordable and effective ways to be seen on the road. It’s easy to use your vehicle to advertise when you add well-designed car decals. There are many different decal design styles and materials to explore. These options are customizable, durable, and quick to produce. The great news is, you can design long-lasting decals from the comfort of your own home. If you’re looking to boost your brand without busting your budget, car decals are your perfect marketing tools.
Different Types of Car Decals
Car decals can come in a variety of different shapes, sizes, and materials. Here is a list of the most popular types of decals and their purpose:
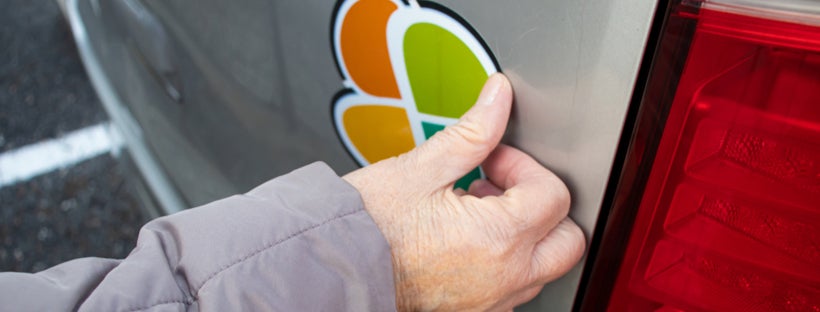
- Magnetic Car Signs: If you aren’t ready to commit to a traditional car decal, a magnetic car sign may be a good option for you. This option is easy to apply and remove, which is great if you switch vehicles or use your car for personal and professional purposes.
- Opaque Car Decals: An opaque car decal is a great choice when you want your message to pop. Add dimension to your decal when you choose a non-see-through border. If your company colors are similar to your car’s paint, an opaque decal with a high-contrast border will help your message stand out.
- Clear Car Decals: This see-through option is just as durable as the opaque options. Transparent vinyl will outlast road debris and weather conditions. Clear car stickers give your message a sleek look. Both opaque and clear decals come in a variety of sizes and shapes, so you can find the perfect fit for your vehicle’s needs.
- Window Decals: If you’re looking for a smaller option, window decals are great. There are plenty of custom design and sizing options to choose from.
- Bumper Stickers: Bumper stickers give your car a personalized touch. Custom stickers make great gifts too. Whether you want to add some humor to your car or commemorate a special event, there are several custom bumper sticker designs to help you bring your vision to life.
- Vehicle Lettering: Stand out in a unique way with vehicle lettering. This option is a great choice for highlighting your business name or contact information. Make sure you choose an easy-to-read font choice to get your message across and leave a lasting impression.
Choose Your Design
Once you have chosen your decal type, it’s time to design. First, you should consider what purpose your decal serves. If your aim is to advertise a business, make sure your decal design choices align to your current brand’s colors, fonts, and copy.
Custom decal shapes can enhance your message but it is important to stick with shapes that work well from your overall brand image. If your company employs a lot of bold, straight lines in its logo, a curved decal shape may conflict with that aesthetic.
There are several templates that make it easy to create an appealing design. When you decide on a template, consider visual hierarchy and look for a structure that will emphasize the most important parts of your message.
If you upload your own artwork, the images need to meet print-friendly specifications. This step ensures quality reproduction for your images. High-resolution photos will produce the best printed pictures.
The Perfect Placement
The placement of your decal determines a lot about its size, design, and material. When you consider your placement options, make sure the decal does not obstruct your or another motorist’s ability to see. The front driver and passenger side doors are great places to put your decal. A rear or side window location is great for smaller decals too.
Application Considerations
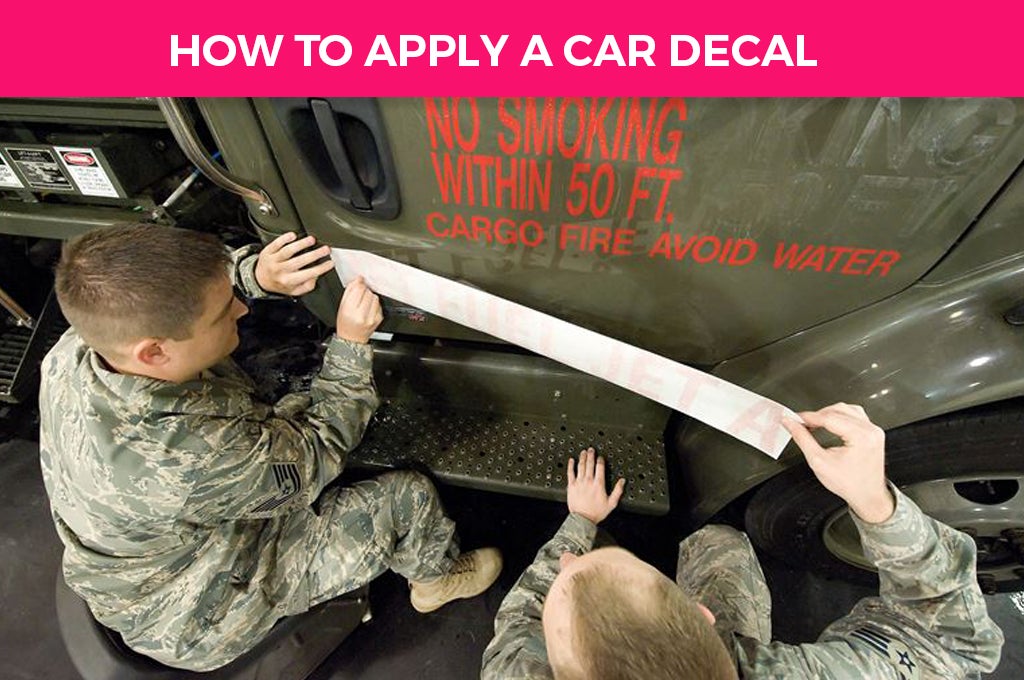
Once you receive your car decal, it’s time to apply it to your car. Follow these steps for flawless application:
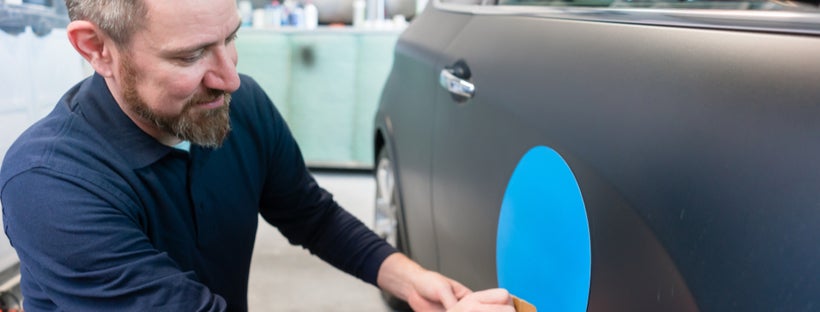
- Clean the car’s surface and allow it to dry fully. Use soapy water the clean the area and avoid cleaners that leave residue or film behind-this will impair the adhesive.
- Determine where you will place your decal. Avoid placing decals over multiple doors or your trunk to avoid rips and tears. Make sure the surface is flat and the decal is even.
- Use a decal to place the decal in the correct position and keep it in place by taping the corners. Keep the adhesive backing on the decal for now.
- Gently peel back the adhesive backing. For larger decals, you may need to remove a little at a time to avoid the decal folding over on itself.
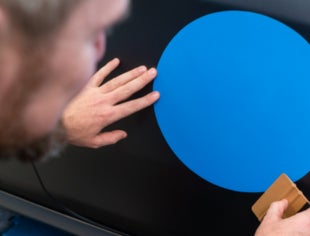
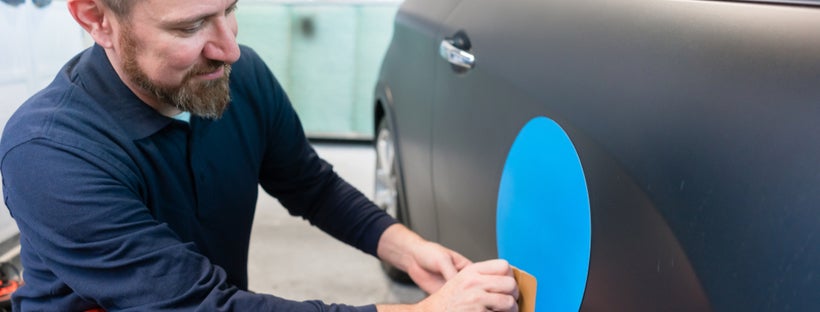
- Keep the decal taught and use the tape as an outline when you apply the decal to the car’s surface. Using a straight-edge tool like a credit card or a squeegee will help you remove any excess bubbles or wrinkles.
- Allow the decal to dry for thirty minutes before removing the transfer tape on the front of the decal.
- Place the edge of the tool on the center of the decal and work your way out in a clockwise direction.