
Ultimate Design Tips to Create Vinyl Banners That Work
December 4, 2025
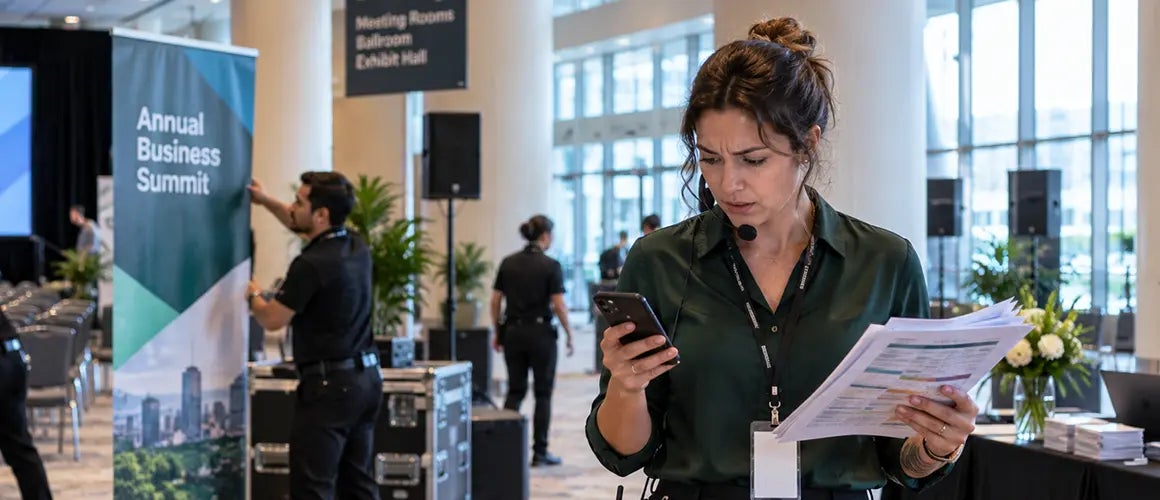
Most event organizers know this moment. The venue is booked, the guest list is growing, and then someone realizes the welcome sign hasn’t arrived. The canopy tent is still in its box, the table covers are transit, and nobody is sure the registration desk will fit where it’s meant to go.
Events rarely run smoothly because of fixes made on the day. They run smoothly because the work was done earlier. Planning signage, checking the layout, and sorting branded materials in advance removes a lot of uncertainty and leaves your team free to focus on the people attending.
Small oversights feel big at an event. A missing directional sign sends people wandering. A badly placed banner can block an entrance. A mismatched table cover can spoil an otherwise tidy display. Any one of these is manageable, but several together get stressful quickly.
Preparation means making decisions early enough to review and change them. Start by listing what the event needs: the venue, how attendees will move through it, branding, registration, display areas, and equipment. Then work out which materials need to be ordered, designed, printed, or assembled.
Once everything has a place in the plan, you can spot problems before you arrive, suppliers get clear deadlines, and the team spends less time reacting. Preparation won’t prevent every surprise, but it can turn a scramble into a small hiccup.
Signage often gets left until late, and that’s when things go wrong. The wording needs approval, the artwork needs resizing, a display turns out not to suit the space, and there’s no time to fix a mistake if the signs arrive the day before.
Start with the attendees’ journey. Picture arriving at the venue for the first time. Where’s the entrance? How do you find registration? Which way is the main hall, the breakout rooms, or the refreshments? Use those questions to build a checklist. Depending on the event, it might include:
Once you know what you need, decide the quantity, size, placement, and design of each item. This also stops you from ordering materials that have no clear purpose.
Banners carry messages across large spaces, and banner stands suit entrances, registration desks, and presentation areas. Canopy tents define outdoor areas, exhibition booths, or promotional zones. Table covers keep registration counters and information desks looking consistent.
Choose based on how the space will actually be used. Think about visibility, floor space, mounting options, expected foot traffic, and whether the display is indoors or outdoors. A banner that works in a large exhibition hall may not suit a narrow corridor.
A floor plan can look fine on a laptop and fall apart in the venue. A registration desk might block a walkway; a display might sit outside the main line of sight, or a queue might spill into the networking area.
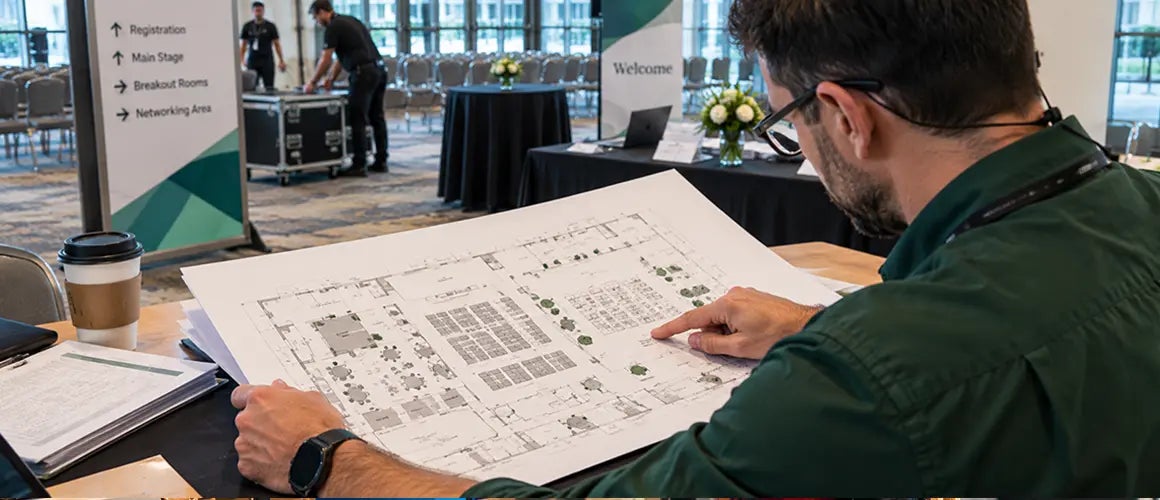
Start with the floor plan and mark the entrances, exits, registration counters, stages, seating, sponsor booths, and refreshment stations. Then think about how people will move between them. Can attendees find registration straight away? Is there room for a queue? Can they see the main displays without blocking foot traffic? Are directional signs where people will need them?
If you can, visit the venue beforehand. Photos and measurements help you confirm that displays will fit, and that key messages will stay visible. It’s also the time to ask about power outlets, rules on hanging signs, setup windows, and any venue display requirements.
Then match your signage to the layout. Put directional signs at decision points, where people might otherwise hesitate. Place banners where they can be seen from a useful distance and keep promotional displays away from emergency exits. At larger events, think about how signs look from different angles, since one that’s clear head-on may be hard to read from the entrance or from behind a crowd.
Picture a trade show booth with a branded canopy tent, a banner, a covered information table, and a clear promotional sign. Each does a different job, but together they look like one presence. If you order each piece separately, at different times, without checking that colors and dimensions match, the result is usable but takes more effort to pull together.
Before ordering, check that your brand assets suit each product: logo placement, colors, fonts, messaging, and image quality. Artwork designed for a banner may need adjusting before it works on a table cover or canopy tent. A simple inventory helps you track what’s ready, what needs approval, and what still needs ordering:
Give each item an owner and set internal deadlines that leave time for production, delivery, and inspection.
Check materials upon arrival (before event day). “Check quantities, check the prints, make sure the designs are right and make sure any hardware is included. If you have more than one location to cover, label and sort everything by destination. Keep setup instructions and accessories together, so nobody has to dig through boxes on arrival.
Even a well-prepared event gets stressful when responsibilities are unclear. One person assumes the banners are packed, another expects the venue to set up the tables, and someone else thinks the promotional materials are going straight to the booth. By the time anyone finds out, the setup time is gone.
A shared checklist shows what needs to happen, who owns it, and when. Organize it by stage rather than as one long list.
Stage What to Look for Planning Confirm event requirements, venue rules, signage needs and budget. Order branded materials, confirm dimensions and artwork approval. Pre-event assessment Confirm quantities, inspect prints, & check deliveries. Organize signage, hardware, tools, and accessories by location. Setup Walk the floor plan; check displays secure and visible. Final walk-through Check branding, navigation and attendee flow.
Keep the checklist where everyone involved can see it and update it as tasks are finished. Build in buffer time too. If a display needs to be ready on Friday, don’t wait until Friday to find out whether it has arrived.
Unresolved decisions take up headspace even when you’re working on something else. Organizers end up checking delivery updates, rethinking layouts, and wondering whether anything has been missed. Planning ahead lowers that load, because approved signage, a checked layout, and materials that are ready leave fewer open questions.
A few habits help:
None of this makes event planning effortless, but it makes the process less reactive. It also means the team gets to experience the event too: welcoming attendees, supporting speakers, and talking to clients.
Clear signage makes navigation easier; a planned layout helps attendee flow, consistent materials look more polished, and a reliable process gives your team confidence. Start early, check the details, and give every material a place in the plan, whether you’re preparing banners, canopy tents, banner stands, table covers, or signs and frames.
Walking into the venue on the day and seeing the plan come together is a much better feeling than fixing things at the last minute.
There are two kinds of shop windows. The first one makes you slow down. The second one makes you wonder…
Black Friday is a major opportunity for businesses to attract new customers, increase revenue, and prepare for the holiday shopping…
Selecting proper visual displays for outdoor events, retail storefronts, or trade shows can make or break your foot traffic. Outdoor…
Setting up an outdoor display or vendor booth usually feels like a job meant for two or three people. When…
Think about the last yard sign you actually noticed. Chances are that you did not stop reading a paragraph of…
If you have ever seen a graphic rise from a slim floor base at a trade show, store or reception…