
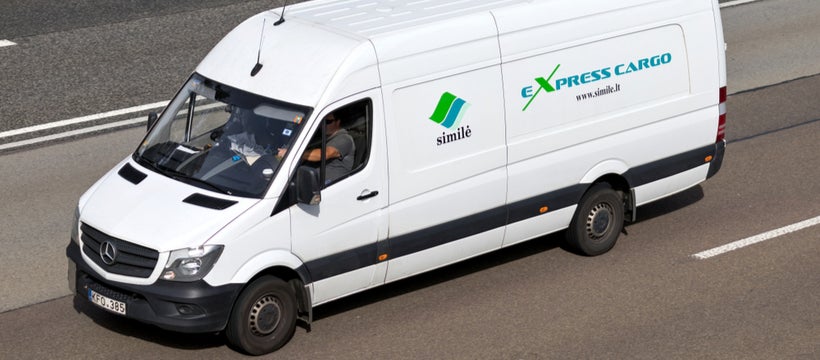
If you use a truck, van, or trailer for your business, using vehicle lettering is one of the most common things you can do to promote your brand. Whether you are a landscaper, plumber, delivery service, or florist, your truck is on the road all the time. This means your vehicle provides a great opportunity to create a visual message for potential customers.
Moving Billboards
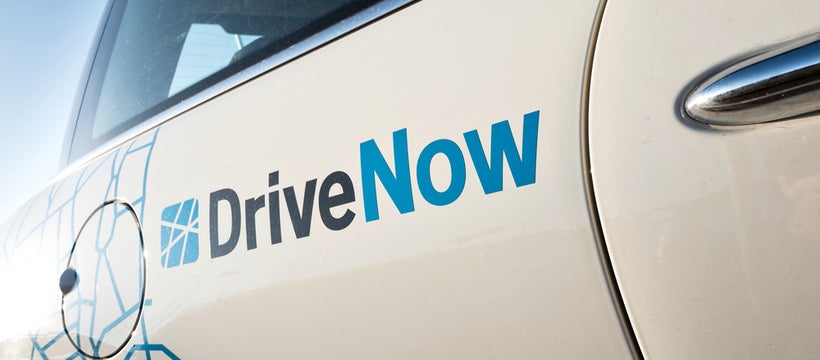
Using lettering means your vehicle is virtually a driving billboard for your business. Everywhere you go, your vehicle lettering is working overtime to advertise your business; you’ve created a moving advertisement that is both eye-catching and relatively affordable.
Rolling with Numbers
According to research, Americans spend more than 17,600 minutes driving a year. About 86% of us drive to work or commute in some way via vehicle. This means that we spend a lot of our time in and around moving vehicles, taking in the stimuli that is on or adjacent to the road (or train tracks, etc.). Hence, by just driving to and from your place of business, you can get 30,000 to 70,000 daily impressions on your vehicle ad.
Wrap It Up
If these numbers don’t convince you of the power of vehicle wraps and graphics, consider these statistics. On average, a full vinyl wrap will cost between $1,500 and $3,000. According to the Outdoor Advertising Association of America (OAAA,) vehicle wraps cost less than $44 per million impressions, compared to outdoor signs at $3.56 per thousand impressions, and newspaper ads at $19.70 per thousand impressions.
As you can see, vehicle lettering is one of the most cost-efficient and effective tools in offline print advertising. Choosing to letter your vehicle is also an easy process that you can do all by yourself.
Here are some tips on how to choose the right lettering signs for your business and how to apply them properly:
Choosing The Right Vehicle Lettering
Step 1: Go Big
Select a large font size for your vehicle lettering sign. For the lettering on your vehicle to be legible and eye-catching to other people, the letters should be at least three to five inches in height.
Step 2: Color It Up
Select a font and color that will stand out. The more your lettering contrasts with the color of your vehicle, the more noticeable the lettering will be. Make sure you pick colors that contrast with the specific vehicle that they will be applied to. If you are going to place your advertising over a window, then you should use white lettering as it is reflective in sunlight.
Step 3: Keep It Simple

Select your slogan and details. When making these choices for your vehicle’s lettering, you need to keep it simple. Studies show that slogans with five words or less work great for custom vehicle lettering. Make sure you only add the most important information like phone number and website after the slogan.
Choosing a short but sweet slogan and minimal details ensures that passersby will be able to read your entire advertisement. Your message is also more likely to stick with people if it has few details as it is easier to remember. If the name of your business and the slogan don’t make it obvious what your company is, then you need to rethink your slogan. Just one look needs to tell anyone who sees your vehicle wrap exactly what your business is about.
Step 4: Grab Attention
To ensure your vehicle’s lettering grabs attention, you’ll want to highlight it in some significant way. One option is to outline the lettering, like a picture frame. Another way is to have a simple design, like a line or a wave, underneath the lettering. Using reflective lettering will also make your vehicle’s lettering a lot more eye-catching as well as more visible at night.
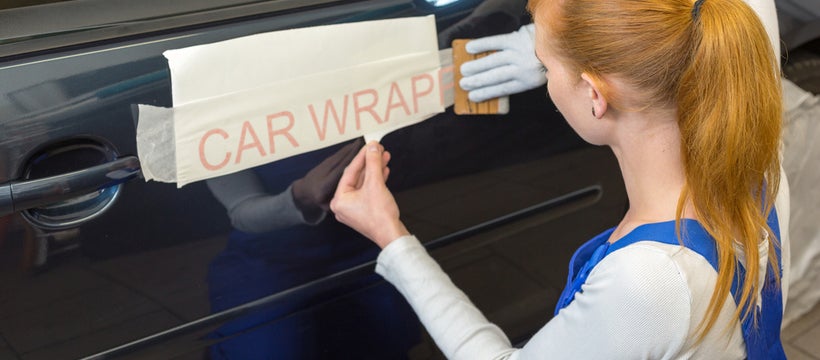
The Correct Way to Apply Your Vehicle Lettering
Here’s everything you’ll need:
- A bowl
- Dish soap
- Lettering
- Level
- Ruler
- Sponge
- Squeegee
Step 1: Clean Your Hands & Your Vehicle
Vehicle lettering will not stick very well if it is dirty, so make sure that your hands are clean at the start of the process, and that the area of your vehicle that you are applying the lettering to is very clean as well.
Step 2: Make A Dish Soap Solution
Add two or three drops of dish soap to one cup of water, and reserve in a bowl. You can also apply the vehicle lettering dry, but it is highly recommended that you use the wet method, as it is extremely easy to work with.
Step 3: Mark the Lettering
Hold the lettering in place on the vehicle where you want to apply it or use a ruler to measure the spot where you want the lettering to be. Then use masking tape or a grease pencil to mark a frame of the area so that your letters are applied exactly how you want them.
Step 4: Apply the Liquid Solution To The Marked Area
The entire area that you will be lettering should be sufficiently wet with the dish soap solution.
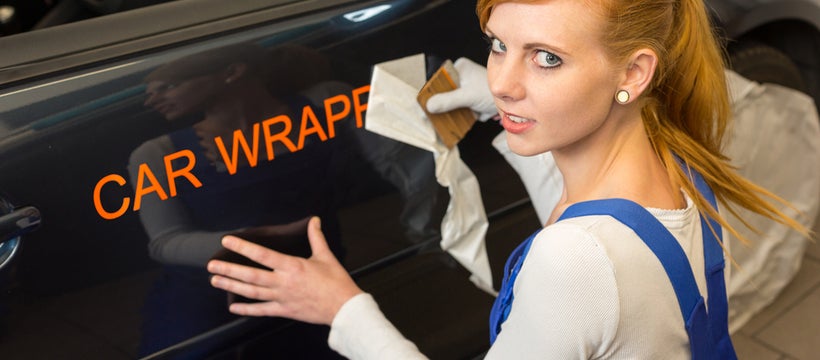
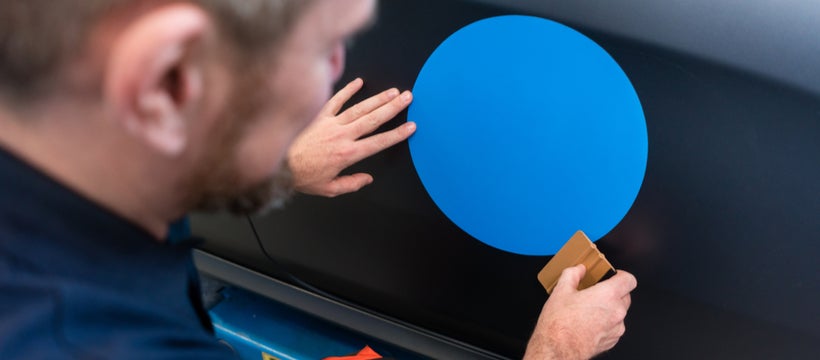
Step 5: Apply the Lettering
Remove the backing from the lettering and place it on the marked area of your vehicle. Use a level to make sure they’re even. If there are pockets of air when you first apply the lettering, use your fingers to push them out.
Step 6: Push Out the Remaining Liquid Solution
Starting from the middle of the lettered area, use your fingers or a soft squeegee to remove any dish soap solution that is trapped under the lettering. The lettering is then fully installed. You can now drive around promoting your brand with ease.
Conclusion
Vehicle and truck lettering is the best way to gain visibility for your products and company while also attracting customers. Adding writing to your car is a cost-effective and simple method to promote your company. You’ll have a vehicle that looks fantastic and benefits your company if you use the steps above to apply your vehicle lettering properly.

