Even though we live in a highly digital world, interactions are not limited to the digital sphere. In fact, since Covid-19 restrictions have lifted, foot traffic to brick-and-mortar stores has increased. Now is a great time to invest in physical marketing tools like window decal. Keep reading to see how you can make effective window decals in four simple steps.
Why Window Decals
Marketing products, like window decals, have an advantage over digital marketing because they are in a fixed location. A banner ad on YouTube, for example, is constantly changing for the user based on their interactions. They see different brands in the same space throughout the day, and considering the fact that people are inundated with thousands of digital ads every day, they forget most of what they see.
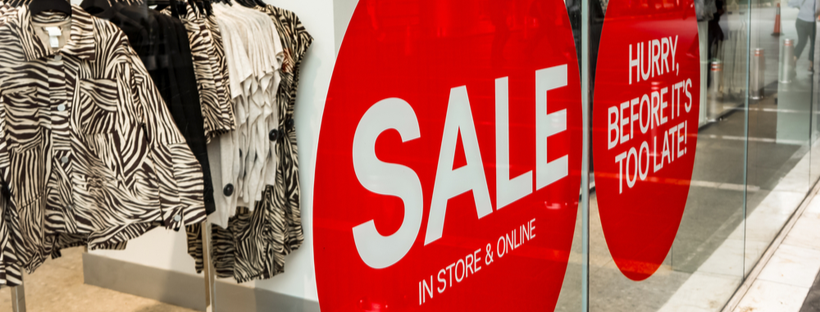
Physical banners and window decals, on the other hand, continue to promote only your brand at that particular location and work wonders in reinforcing brand image. They are also great for attracting attention to promotions and increasing in-store foot traffic.
Choose Your Decal Size
The first step is choosing the size for the decal, and this will depend on the physical space you have available for marketing. As a rule of thumb, you don’t want to crowd the space. You want some negative space left around the decal to put the focus on your message. Therefore, select a size that fits your area and leaves some empty space around your marketing message.
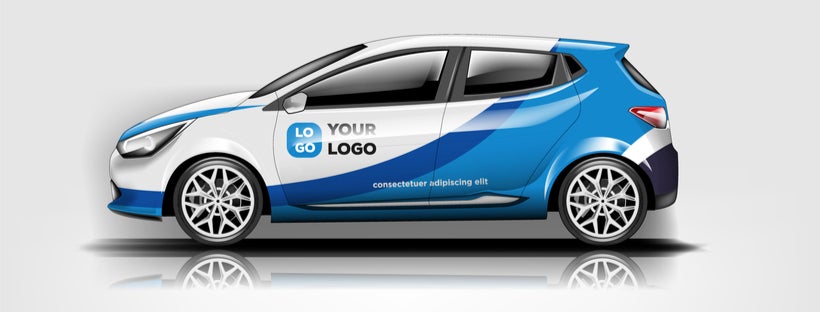
Decals are great brand promoters when used on walls, windows, car windows, and more. The space available will be subjective to where you intend to place the decal. You have the option to select a predefined size or enter a custom size based on your unique needs.
Select a Template (or Hire A Designer) & Upload Your Graphics

The next step is uploading your graphics that you want to be turned into a decal. Online decal designers will convert this image into a high-resolution decal that you can apply directly onto the window or wall. Design directly affects your decal’s ability to turn onlookers into purchasers. Therefore, your decals need to be attractive, eye-catching, and also informative.
It’s worth investing in a professional graphic designer to create a good design. Most online decal printers also have predefined templates that you can use if you need something simple. All you have to do is provide your brand details – name, logo, colors, and promotional information and the template will be tailored for your brand.
Installing Your Decals
Applying window decals is fairly simple. Use these steps to apply your decal to the window:
- Step 1: Clean the Window
Clean your window to remove dirt and debris, which can impede the decal’s adhesive properties from staying in place. Use window cleaner to clean the area and allow the glass to dry completely.
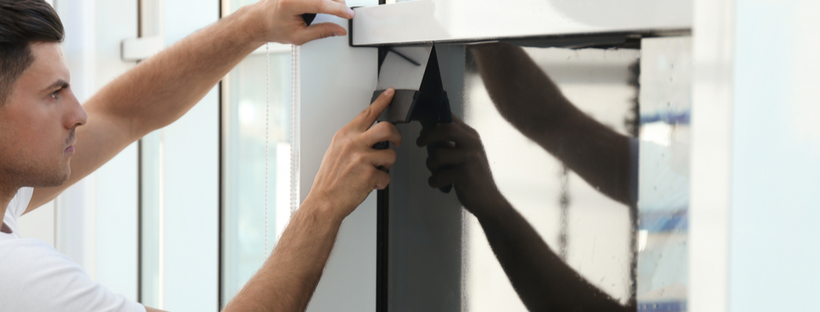
- Step 2: Mark & Measure the Application Area
Use a straight edge like a ruler or level to test the placement of your decal. Once you have the perfect position, mark it with tape.
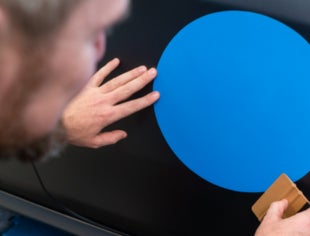
- Step 3: Peel the Adhesive Backing & Apply
Slowly peel the adhesive backing off of the decal. If your decal is large, you may want to peel small parts back and apply your decal to the surface as you go.
- Step 4: Smooth Wrinkles
Take a credit card and, working from the center of the decal out, use the edge to fix any wrinkles or bubbles that occurred during the installation process.
Care Instructions
You will need to care for the decal to ensure it lasts long and remains attractive as time passes by. Window decals are susceptible to accumulating dust, especially around the corners where the adhesive is exposed. Routine cleanings keep your signage and your store looking professional and well maintained.
Start by gently cleaning out any surface dust with a duster or cloth. Make a diluted solution using a mild soap and lots of water. Dip a clean cloth in this solution, wring out any excess, and gently wipe the surface using horizontal motion to avoid dripping over the decal. Don’t use excessive force when wiping. Use a dry cloth to wipe the decal and surroundings. These maintenance steps will help prevent wear, tear, and fading of your decals.
Final Considerations

Building brand awareness doesn’t have to break your budget. Cost-effective advertising tools like window decals, custom banners, and adjustable banner stands make marketing effortless. Next time you want to add some branding or promotional messages to your storefront or company vehicle, keep these window decal creation and maintenance tips in mind.